Ceiling Fan Replacement
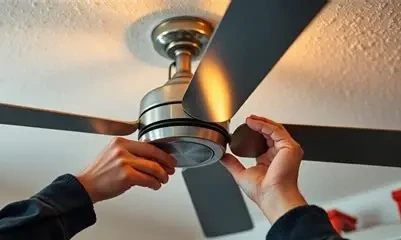
Best practice for Ceiling fan Replacement followed by electrician. 1. Safety First Turn off power from the main circuit breaker before starting. Use a voltage tester or multimeter to ensure there’s no live current. Wear insulated gloves and use a stable ladder. 2. Removal of Old Fan Carefully remove the fan blades one by one to reduce weight. Disconnect the canopy cover and wiring connections (note wire colors). Unscrew and remove the mounting bracket if it’s old or damaged. Check ceiling box strength — it must support the fan’s weight. 3. Inspection Before Installation Inspect wiring insulation, earthing connection, and junction box. Tighten any loose ceiling screws or anchors. Verify supply voltage (230V AC typical) and neutral/earth continuity. 4. Installing the New Fan Install the mounting bracket securely to the ceiling box. Connect wires properly: Live (brown/red) → fan switch Neutral (blue/black) → neutral terminal Earth (green/yellow) → earthing screw on the fan body Use wire connectors or insulating tape for safe joints. Hang the fan motor carefully and attach canopy covers. 5. Final Assembly and Testing Fix fan blades and ensure all screws are tight and balanced. Turn power ON and check: Smooth and quiet rotation Correct speed variation through regulator No vibration or wobbling Verify fan direction (should blow air downward in summer mode). 6. Finishing and Safety Check Clean up wiring area and tighten canopy properly. Explain operation and maintenance tips to the user. Record any warranty details or service notes.
Book a Service
Sun, Jul 26
Team will arrive within the selected time